Lets Shag

The Shag Lamp


If you haven't noticed by now I love myself a good light fixture. Just changing the lighting in a room can drastically give it a different feel. It is so much more important than just for the function of being able to see when its dark, it sets the tone of a room.  lets be honest no one wants florescent tube lighting in their bedroom. 

I started this project thinking it was going to be simple. I got the lantern from ikea for a few bucks and had the super glue from another project. What I didn't realize was how much fabric it would take.  I started with two yards and realized very quickly that it would not be enough. By the end of the project I had used 6.5 yards of fabric! luckily I purchased it on clearance, on a sale weekend . . . also that no one bought the rest before I got back to the store. 

I started by laying out my fabric and marking every two inches on the edge of the fabric. I repeated this step on the other side of my fabric but off setting it by one inch. 


The reason for the offset is because when you connect the marks they will be diagonal creating long skinny triangles.


Once you have covered your fabric in skinny triangles its time to cut. Its not the most exciting step,  its obviously necessary. 


Keep cutting 


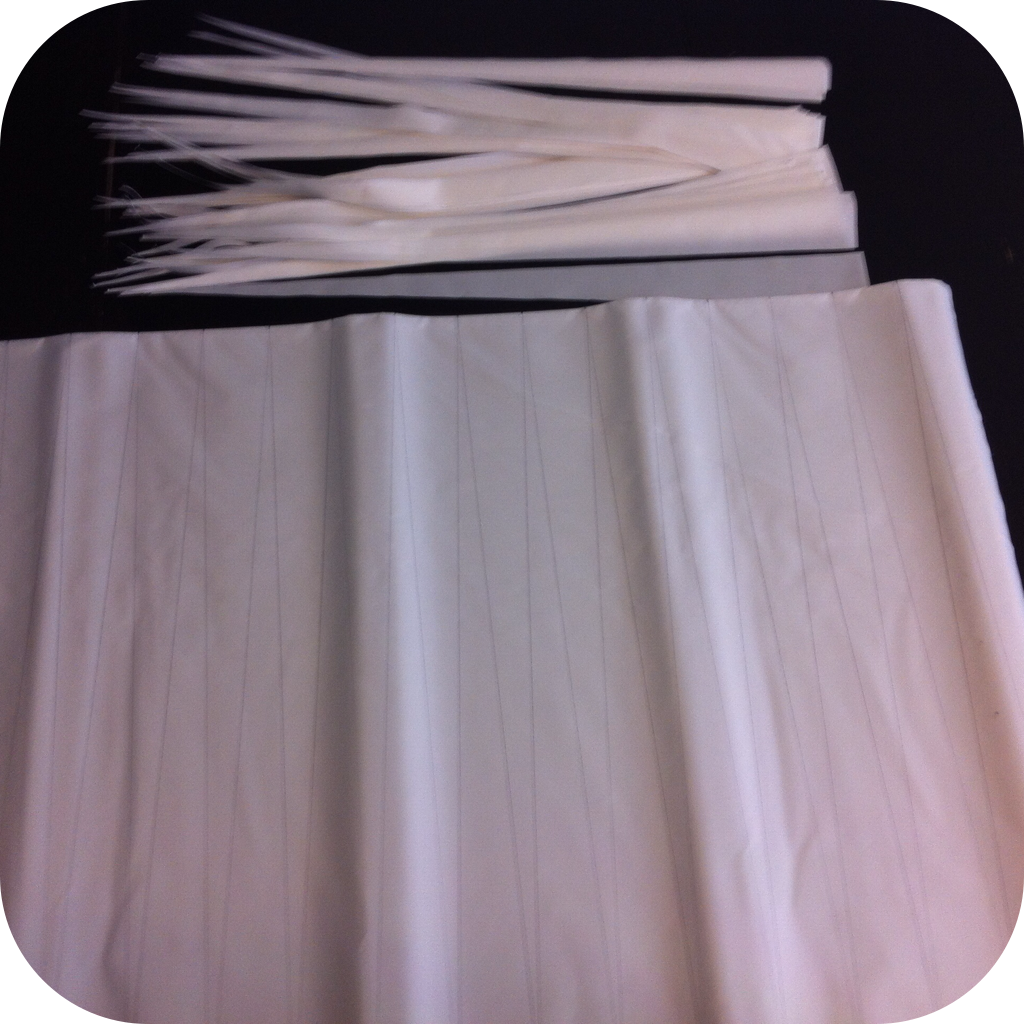
Until you have hundreds of skinny triangle strips ! 


I found it most convenient to hang the lantern.  Its kind of weird at first to work on something that is swinging all over the place but trust me this is the most efficient  way to work on this project. Turn on some Netflix and you will totally get in the groove. 


Now we finally get to the part that shows some results. You should by hanging your strips on the inside of the bottom of the lantern. Next pick a place and start, you can start how ever you like. I found that the easiest way for me, because of the way that my lantern was made was to follow the frame of the lantern as it spirals to the top. 


I hope you bought the industrial size bottle of glue, because your going to need it. 


Once I had reached the top, I finished off the edges by gluing the top pieces around the opening. 


I love the idea of it as a hanging light but that was not functional for the room I was placing it in so I bought a stand and attached it like a lamp shade. 


I am obsessed with the outcome. I can't wait to make one for myself !
If anyone makes this as an ombre, it would be epic.  


- Joshua 


The Gasparilla Wreath


The Gasparilla Wreath

DIY


Now that Gasparilla is over everyone has a bunch of beads sitting around! Since there are less than 365 days left before the next pirate invasion, here is a DIY to help you start preparing. For anyone who doesn't know about Gasparilla, its is the annual celebration of the invasion of Tampa bay by Jose Gaspar and his scurvy crew.  During the week the Mayor of Tampa hands over the keys of the city to the pirates and later that weekend the pirates hold a victory parade on Bayshore Boulevard. The parade includes eccentric ship themed floats and the pirates hand out beads, coins and other treasures to the crowd. 


The Supplies for this project are very simple and inexpensive, especially since most people have beads from Gasparilla lying around from previous years.

If you can find it I suggest using a styrofoam wreath as your base. Regardless of which base you use I recommend wrapping your wreath in a material that will bond to the hot glue easily and securely. For this project I used a giant spool of twine.  


After I wrapped the entire metal wreath with the twine I wrapped it again with beads. This creates a base to create the illusion of the wreath actually being made out of beads! I also cut the the beads to make them easier to wrap. 


After I finished creating the base of the wreath I bulked up the front. I took a handful of beads, scrambled them all together, placed a big glob of hot glue and placed them on front of the wreath. 


I continued this motion around the rest of the wreath until the front looks full. I then glued all the loose pieces down. 


I bought a spool of ribbon, created a big bow and glued a skull and crossbones to the middle to make it a little more festive. 


I love the way it turned out, now we just need to figure out what to do with rest of the beads.

-Joshua 

SHUT THE FRONT DOOR


When Stacey first reached out to me for help with a project that she had seen on Pinterest, I couldn't believe I hadn't thought of it first.  I have heard her use the phrase hundreds of times by now and it fit her style so well.  When starting this project I knew it couldn't just be a joke, but it had to make a statement when you came in the door. Just like Stacey. 


I purchased the letters at Michaels with my 20% off coupon and paid just over 40.00 for all 16 letters. It sounds a lot easier than it actually was, finding a font with all the letters in stock was actually quite a challenge.  Between two stores and some great customer service I found them all. 


As usual I chose a Behr Color "Broadway" which is almost black but not quite.  Luckily the letters I purchased had already been primed so  I simply gave each letter a few coats of paint and let them dry. 


Next came the fun part, leveling, centering and applying the letters to the wall.  I had already decided that I preferred the look of all the letters pushed together almost as if they were one piece.  I used the handy laser level to keep it all straight and command strips to apply them to the wall.  I highly recommend Command strips when hanging light items. The cost is much higher than using a nail but if you are like me and are constantly changing things, they make it a quick easy removal with no repairs ! 


In the end I think it came out pretty great, if I do say so myself.
It was a easy and fun project, especially with a few cocktails.

-Joshua